Keeping your WordPress plugins updated is an essential part of maintaining a secure, stable and reliable website.
Plugin updates can fix security vulnerabilities, resolve bugs, improve performance and introduce compatibility with newer versions of WordPress, WooCommerce and PHP. However, updates can also cause unexpected problems when they conflict with your theme, another plugin or custom functionality.
That does not mean you should avoid updates. It means you should approach them with a reliable process.
In this guide, we will explain how to safely update WordPress plugins, minimise the risk of downtime and recover quickly when something does not work as expected.
Why WordPress plugin updates can cause problems
A WordPress website is usually made up of several interconnected components:
- WordPress core
- Your active theme
- Installed plugins
- Custom code
- Your hosting environment
- Third-party services and integrations
Changing one component can affect another.
For example, an updated WooCommerce extension may require a newer version of WooCommerce. A page builder update could change the HTML or CSS used by an existing template. A custom integration may rely on a function that has been removed or changed.
Common problems after plugin updates include:
- Broken page layouts
- Missing website functionality
- PHP warnings or fatal errors
- Checkout or payment failures
- Forms that no longer submit
- JavaScript errors
- Slow loading times
- Compatibility issues with other plugins
- Database update errors
- The WordPress white screen of death
Most updates install without any problems. The purpose of a safe update process is to protect your website on the occasions when something does go wrong.
1. Review the available updates
Before clicking “Update all,” take a moment to review what is changing.
Go to:
WordPress Dashboard → Plugins → Installed Plugins
You can also view available updates under:
WordPress Dashboard → Dashboard → Updates
Look at:
- Which plugins have updates available
- The current and new version numbers
- Whether the update is a minor or major release
- When the update was released
- Whether the plugin is active
- Whether the plugin controls critical website functionality
An update from version 3.2.1 to 3.2.2 is usually a smaller maintenance release. An update from version 3 to version 4 may contain more substantial changes.
Major updates deserve additional review and testing.
2. Read the plugin changelog
A changelog explains what has changed in a new plugin version.
Depending on the plugin, it may include:
- Security fixes
- Bug fixes
- New features
- Performance improvements
- Removed functionality
- Compatibility changes
- Database changes
- Developer changes
- Minimum WordPress or PHP requirements
Pay particular attention to phrases such as:
- Breaking change
- Deprecated
- Removed
- Database migration
- Minimum PHP version
- Minimum WordPress version
- Template changes
- Action required
- Compatibility update
You do not need to understand every technical change. You are looking for anything that could affect the way your website currently operates.
For important plugins, it is also worth checking recent support reports or known issues before installing a major new version.
3. Confirm compatibility requirements
Before updating, check that your website meets the plugin’s current requirements.
Review:
- Your WordPress version
- Your PHP version
- Your WooCommerce version
- Your theme version
- Related plugin versions
- Required PHP extensions
- Any connected third-party services
You can find general information about your website under:
WordPress Dashboard → Tools → Site Health → Info
A plugin may install successfully but still fail if your server uses an unsupported PHP version or another required plugin is outdated.
This is particularly important when updating:
- WooCommerce
- Payment gateways
- Subscription plugins
- Membership plugins
- Page builders
- Learning management systems
- Booking systems
- Multilingual plugins
- Security plugins
These plugins often interact with several parts of the website and may have additional compatibility requirements.
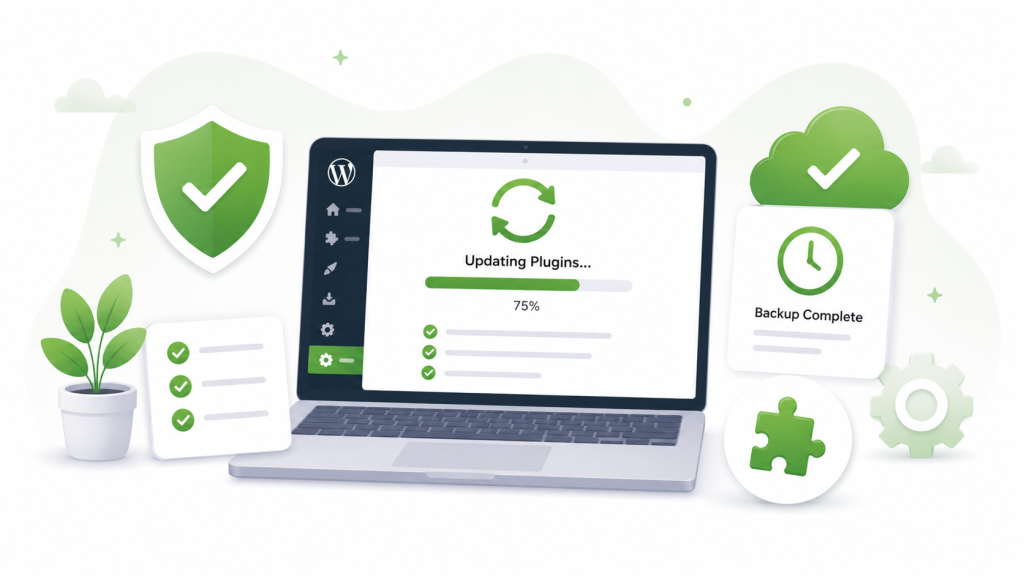
4. Create a complete website backup
Always create a current backup before making significant updates.
A complete WordPress backup should include both:
- The website database
- The website files
The database contains content such as posts, pages, settings, users, orders and plugin data.
The files include:
- Plugins
- Themes
- Media uploads
- WordPress files
- Custom code
- Configuration files
Having only a database backup or only a file backup may not be enough to fully restore the website.
Your hosting provider may offer automatic or on-demand backups. You can also use a dedicated WordPress backup service.
Before continuing, confirm:
- The backup completed successfully
- It contains both files and database information
- You know where the backup is stored
- You know how to restore it
- The backup is recent enough to avoid losing important data
For a brochure website, a backup from earlier that day may be sufficient.
For a busy WooCommerce store, membership website or booking system, even a backup that is several hours old could mean losing new orders, registrations or customer activity. These websites may require more frequent or real-time backups.
5. Test important updates on a staging website
A staging website is a private copy of your live website that can be used for testing.
It allows you to install updates and identify problems without affecting customers or visitors.
Many managed WordPress hosting providers include one-click staging functionality. You can also create a staging copy using a WordPress staging or migration plugin.
A staging environment is especially valuable when updating:
- WooCommerce and its extensions
- Payment gateways
- Subscription systems
- Membership platforms
- Booking functionality
- Page builders
- Your active theme
- Plugins with major version changes
- Several closely connected plugins
- Custom-built integrations
After creating the staging copy, install the updates there first and test the website thoroughly.
Remember that a staging website may contain copied payment, email and integration settings. Disable live payment processing, outgoing emails, subscriptions, webhooks and other external actions where appropriate.
6. Update WordPress components in a sensible order
When several types of updates are available, the order can matter.
A practical sequence is:
- Create and verify the backup
- Update WordPress core when required
- Update the active theme and parent theme where appropriate
- Update supporting plugins
- Update major feature plugins
- Update WooCommerce extensions
- Update WooCommerce
- Test the website
- Clear relevant caches
The best order may vary depending on the instructions supplied by the plugin developer.
For example, a WooCommerce extension may state that it must be updated before or after WooCommerce itself. Always follow documented compatibility instructions when they are provided.
7. Avoid updating every plugin at once
Bulk updates are convenient, but they can make troubleshooting more difficult.
When 15 plugins are updated together and the website breaks, it can be difficult to identify which update caused the problem.
For low-risk maintenance updates, small batches may be appropriate.
For important plugins, update them individually and test the relevant website functionality immediately afterwards.
A sensible grouping might be:
- Utility and administration plugins
- SEO and analytics plugins
- Design and page-building plugins
- Forms and lead-generation plugins
- WooCommerce extensions
- Payment and checkout plugins
- Security and caching plugins
Update your most critical plugins separately.
This creates a clear point of reference if a problem appears.
8. Put high-traffic websites into maintenance mode when necessary
Most plugin updates only take a few seconds, so maintenance mode is not always required.
However, consider using maintenance mode when:
- Updating WooCommerce
- Running a database upgrade
- Updating several critical plugins
- Deploying a major new version
- Making related theme or code changes
- Performing an update that may take several minutes
Schedule significant work during a quieter period where possible.
For an online store, check your analytics and order history to identify periods with lower traffic and fewer transactions.
Avoid starting a major update immediately before:
- A marketing campaign
- A product launch
- A major sales period
- An important event
- The end of your working day
- A period when technical support is unavailable
Allow enough time to test the website and respond to any problems.
9. Test the website immediately after updating
A successful update message only confirms that WordPress installed the plugin files. It does not confirm that every part of the website still works correctly.
After updating, review both the front end and WordPress administration area.
General website checks
Test:
- The homepage
- Main navigation
- Important landing pages
- Contact forms
- Search functionality
- Logged-in and logged-out views
- Mobile layouts
- Images and interactive elements
- Links and buttons
- Cookie and tracking scripts
WooCommerce checks
For an online store, test:
- Shop and category pages
- Product pages
- Product variations
- Add-to-cart functionality
- The cart
- Coupons
- Shipping calculations
- Checkout fields
- Payment gateways
- Tax calculations
- Order confirmation emails
- Customer account pages
- Subscription or membership functionality
Where possible, place a complete test order using an appropriate test or sandbox payment method.
Administration checks
Inside WordPress, check:
- Whether pages can still be edited
- Whether plugin settings load correctly
- Whether scheduled actions are completing
- Whether WooCommerce reports and orders load
- Whether there are new warnings or error notices
- Whether background database updates are required
Testing should focus on the parts of the website connected to the plugin you updated.
10. Clear website and browser caches
Caching can make it appear that an update has not worked or that an old problem is still present.
After updating, clear any relevant:
- WordPress caching plugin cache
- Hosting-level cache
- Content delivery network cache
- Object cache
- Browser cache
- Minified CSS and JavaScript files
Some optimisation plugins combine or delay JavaScript and CSS files. Those generated files may need to be rebuilt after plugin or theme updates.
If a page looks broken after an update, check it in a private browser window before assuming the update itself has failed.
11. Check for PHP and JavaScript errors
Some update problems are not immediately visible.
Review your website’s available logs for:
- PHP fatal errors
- PHP warnings
- Deprecated function notices
- JavaScript errors
- Failed AJAX requests
- REST API errors
- Scheduled task failures
- Database errors
Depending on your hosting provider, error logs may be available through your hosting dashboard.
Developers can also use WordPress debugging and browser developer tools to investigate problems. Debugging should be handled carefully on a production website because displaying technical errors publicly can expose sensitive information.
12. Know how to roll back a failed update
Even with preparation, an update can occasionally cause a problem.
Your recovery options may include:
- Restoring the complete website backup
- Restoring only the affected plugin files
- Reinstalling the previous plugin version
- Deactivating the affected plugin
- Applying a compatibility fix
- Rolling back the staging environment
- Contacting the plugin developer
- Contacting your hosting provider
If the website becomes inaccessible, you may be able to deactivate a plugin using your hosting file manager.
Navigate to:
wp-content/plugins/
Rename the folder belonging to the affected plugin. WordPress will no longer be able to load it and should automatically deactivate it.
This can help restore access to the website, although functionality provided by that plugin will remain unavailable until the underlying problem is fixed.
For WooCommerce stores and other websites with frequently changing data, be cautious when restoring a full backup. Restoring an older database can overwrite orders, customer accounts, form submissions or content created since the backup was taken.
Should you enable automatic plugin updates?
WordPress allows automatic updates to be enabled or disabled for individual plugins.
Automatic updates can be useful for:
- Simple utility plugins
- Minor maintenance releases
- Security-focused plugins
- Plugins with a strong compatibility history
- Websites with reliable automatic backups
- Websites that are actively monitored
Manual or controlled updates may be more appropriate for:
- WooCommerce
- Payment gateways
- Subscription plugins
- Membership systems
- Page builders
- Booking systems
- Plugins connected to custom code
- Plugins responsible for critical website functionality
- Major version updates
There is no single setting that is right for every website.
A small brochure website may safely automate most maintenance updates. A busy WooCommerce store may require a more controlled process involving staging, scheduled deployment and manual testing.
The important thing is not simply whether an update is automatic or manual. It is whether the website has reliable backups, monitoring and a recovery process.
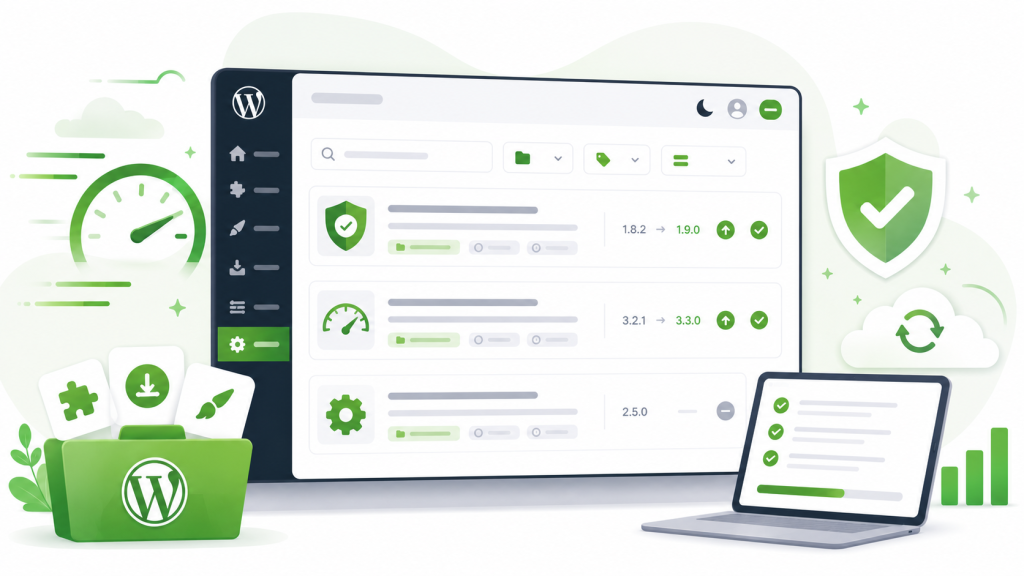
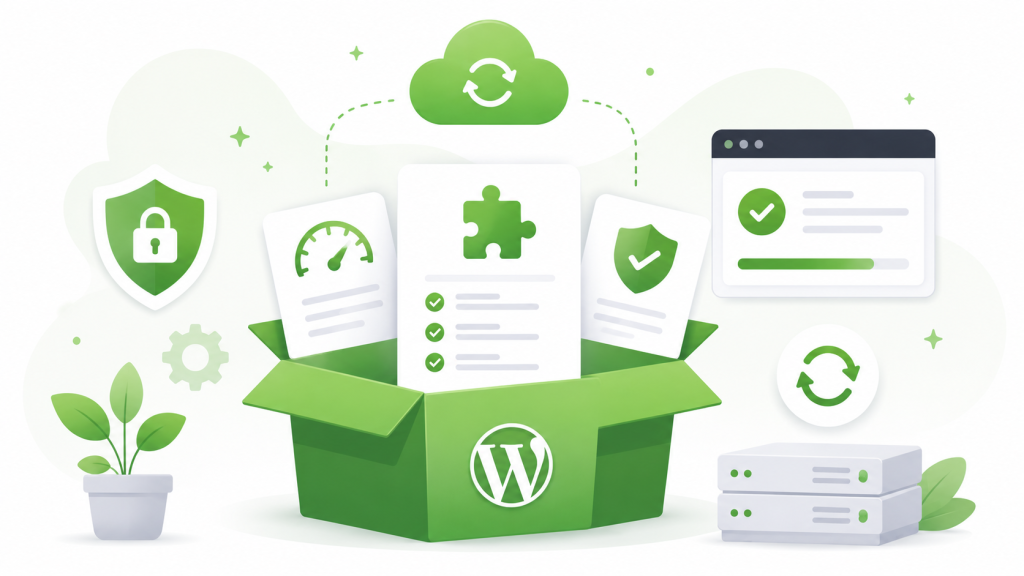
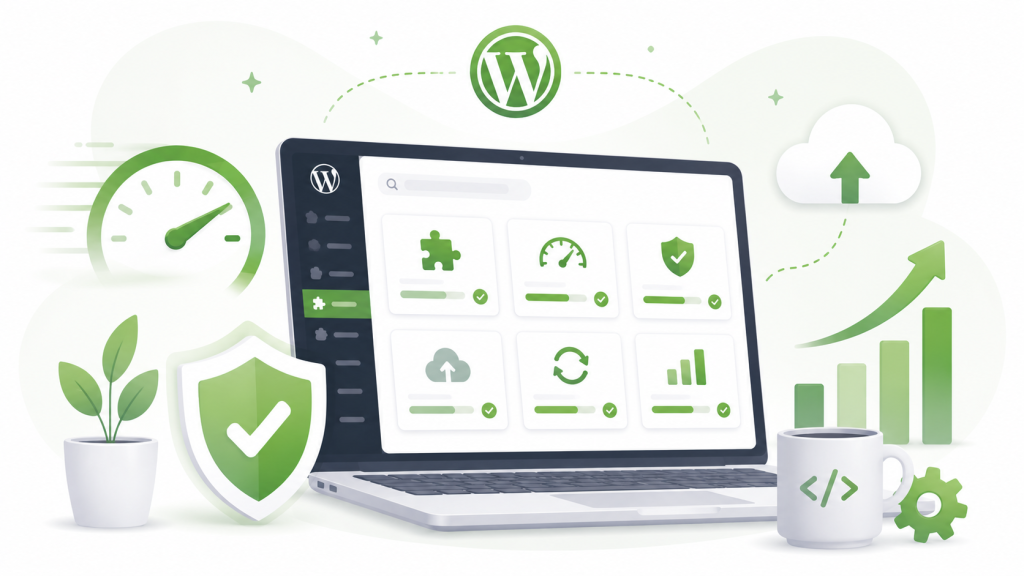
Managing plugin updates with GPL Kit
GPL Kit provides a central place to browse, install and maintain GPL plugins and themes from inside WordPress.
Its dedicated Updates screen makes available GPL Kit updates easier to identify and manage without moving between multiple plugin websites and download portals.
GPL Kit also includes:
- Clearer plugin update information
- Installed and catalogue version details
- Update status indicators
- Catalogue refresh tools
- Plugin bypass controls
- Search and filtering tools
- An experimental AI catalogue assistant
Bypass controls can be useful when a particular plugin needs to remain on its current version temporarily while you complete compatibility testing or wait for an issue to be resolved.
However, bypassing an update should be a temporary, considered decision. Delaying updates indefinitely can leave the website without important bug fixes or security improvements.
GPL Kit makes the update process more convenient, but backups, staging and post-update testing should still remain part of your website maintenance workflow.
A practical WordPress plugin update checklist
Before updating:
- Review the available updates
- Read important changelogs
- Check WordPress and PHP requirements
- Confirm compatibility with related plugins
- Create a complete backup
- Verify that the backup can be restored
- Create a staging copy for significant updates
- Choose a low-traffic update period
During the update:
- Update critical plugins individually
- Follow developer instructions
- Watch for database update prompts
- Avoid closing the browser during active updates
- Record which versions were changed
After updating:
- Check the front end of the website
- Test forms and key interactions
- Test checkout and payments where applicable
- Check the WordPress administration area
- Review available error logs
- Clear website and browser caches
- Monitor the website for delayed issues
Keep your plugins current without losing control
Ignoring plugin updates can expose your website to security vulnerabilities, compatibility problems and unresolved bugs.
Installing every update immediately without preparation can create a different set of risks.
The safest approach sits between those two extremes: keep plugins current, understand what you are updating and have a reliable way to test and recover.
With current backups, a staging environment, a structured update order and a clear testing checklist, you can maintain your WordPress website without treating every plugin update as a gamble.
GPL Kit gives you a cleaner way to browse, install and manage premium GPL plugins and themes directly from your WordPress dashboard.
Manage premium WordPress plugins more efficiently with GPL Kit.
[Get started with GPL Kit]